How to create or edit questions
A good survey has precise questions that allows recipients to reply accurately and correctly. It is as free as possible to give you insight into the recipients points of view, and it is as strict as necessary so you can use it for reports and statistics.
Note:
If you have created the survey in multiple languages, you must translate into all these languages before publishing.
Tip!
If you want to review or edit a question, click first the topic name and then the question name.
How to create questions
-
Go to Surveys. Find the survey you want to edit in the list or create a new one via + Add.
-
Scroll down to the Question segment.
-
Next to the topic, you can find a
 menu. Click + Question.
Tip! If the topic doesn't exist, create it first via +Topic. -
Enter the Question and add, if you want to, an explanatory text that will be displayed below the question.
-
Under Question type, you can now define which type of answer you expect. Read more here.
In case of single choice or multiple choice questions, you must also define the answers. Click + Add for each new answer. -
Do you want to force the recipients to answer this question? Tick Yes under Mandatory question.
-
If the recipients shall be able to add an additional comment to e.g. explain a date, tick Yes under Possibility for comment.
-
Define if recipients shall be able to upload one or more file attachments.
- Click OK.
![]() The question is now created.
The question is now created.
Tip!
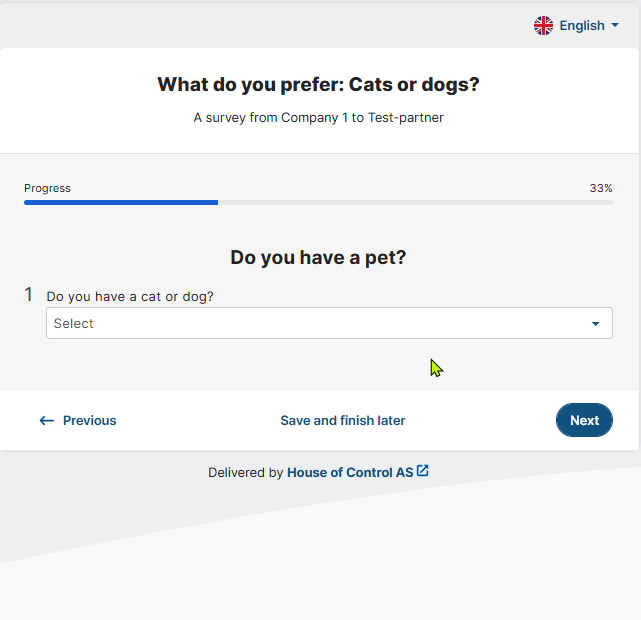
You can check how the questionnaire will look like for your recipients: Open the survey card in view mode and click Preview.
How to create questions with branching
This text gives a quick introduction into functionality of a BETA version. The functionality is described as it appears at the moment. There can be changes until the final version is launched.
Branching allows you to customize what happens next based on a respondent's answer. For example, imagine you're creating an onboarding survey and want to know how users heard about your company. If someone selects "Social Media," you could branch to a follow-up question: "Which platform do you use most?" If they choose "Search Engine," you could ask: "What were you searching for?". To the right, you'll find a video tutorial, and below, you can see how branching appears to recipients.
Note!
You can only branch from single-choice questions—where respondents must select one pre-defined answer.
-
Perform the first 5 steps form the description above. Note to pick a "Simple-choice" question type.
-
Click
 Add branching.
 - You can now - for each possible answer- define what shall happen next:
The Next question shall be displayed
The Next topic shall be displayed
A specific topic shall be displayed. This would allow you to e.g. hop directly to a topic at the end of the survey (here it's necessary that you have added these topics beforehand).
The survey shall end and be submitted to the sender.
-
Add branching for all choices (not just one that branches to a specific question/topic). For choices that shall open the next question as usual, select “Next question.”
![]() Branching is now added for these questions. Continue in the same way for any other question you want to branch.
Branching is now added for these questions. Continue in the same way for any other question you want to branch.
Tip!
As branching can be quite complicated, we recommend testing it in the Preview before sending the survey. The preview is displayed in view mode.

How to remove branching
This text gives a quick introduction into functionality of a BETA version. The functionality is described as it appears at the moment. There can be changes until the final version is launched.
You can only remove branching from unpublished surveys:
-
Open the survey in editing mode.
-
Scroll down to the Questions section and open the topic the question where you want to remove the branching. You do so by clicking the topic name.
-
Click the question name and scroll down to the Choice alternatives.
-
Click
Remove branching. Note that this removes branching for all choices.
![]() All branching for this questions are removed.
All branching for this questions are removed.